How to Improve Syrup Clarification and Quality
syrup clarification directly affects color, flavor, filtration load, and finished-product consistency. In sugar processing, small amounts of suspended solids can darken syrup and reduce equipment efficiency. Recent USDA Foreign Agricultural Service Sugar: World Markets and Trade outlooks place global sugar production above 180 million metric tons annually. This scale makes process control commercially important, not optional. The FAO Food Outlook 2024 also shows how weather, energy costs, and trade conditions continue influencing sugar supply and processing decisions.
Effective syrup clarification begins with accurate diagnosis. Raw syrup may contain bagasse particles, waxes, proteins, minerals, and colored compounds. These impurities do not respond equally to heat, pH adjustment, phosphatation, carbonation, or filtration. Experienced operators therefore monitor temperature, pH, turbidity, color, and filter differential pressure together. A bright sample can still hide unstable chemistry. That matters.
ICUMSA analytical methods provide recognized approaches for measuring sugar color, ash, and related quality indicators. These measurements help convert visual observations into repeatable production data. A practical program should record results before clarification, after treatment, and after storage. Clean sampling points are essential. Poor sampling can mislead even a well-designed process.
This guide examines how clarification chemistry, residence time, filter media, and sanitation influence syrup quality. It also considers energy use and product losses. Not every plant needs the same settings. Local cane or beet quality, equipment design, and water chemistry can change the outcome. A useful improvement plan must therefore combine published standards with disciplined plant trials, documented results, and honest review of failed adjustments.
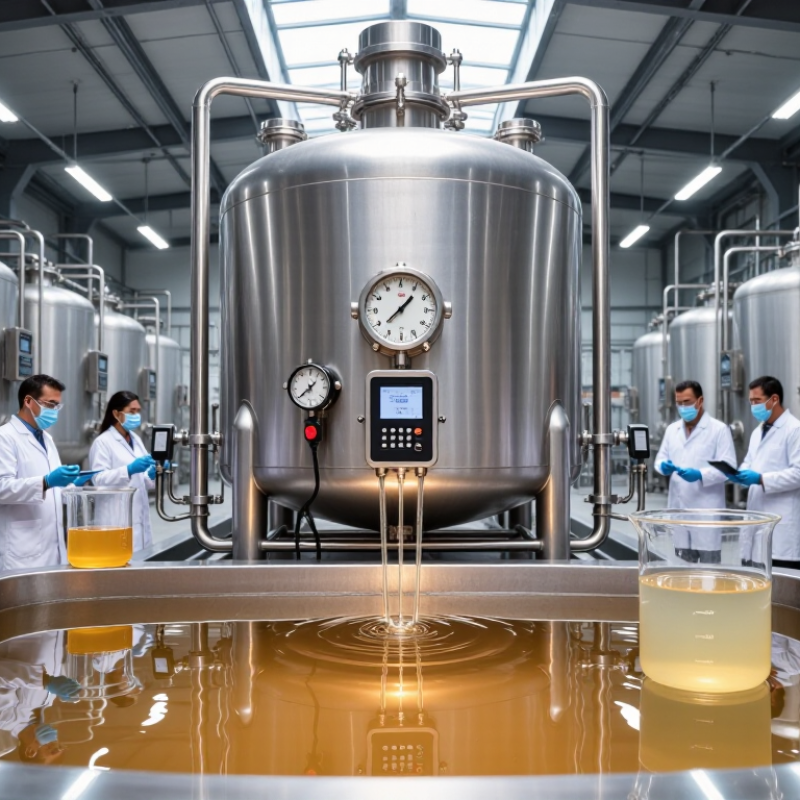
Understanding Syrup Clarification and Its Quality Indicators
How to Improve Syrup Clarification and Quality
Understanding Syrup Clarification and Its Quality Indicators
Clear syrup begins with controlled heating, suitable filtration, and consistent raw materials. In production, I have found that rushed clarification often creates pale haze and unstable sediment. Temperature matters. Excessive heat can darken syrup and affect flavor. Insufficient heat may leave proteins, minerals, or fine particles suspended. Operators should monitor turbidity, color, pH, Brix, and sediment after cooling. These indicators reveal more than appearance alone. A bright sample can still fail during storage.
Turbidity shows whether microscopic particles remain in the liquid. Color changes may indicate oxidation, overheating, or uneven processing. Brix confirms concentration, but it cannot prove clarity. Stable pH supports predictable quality and helps identify process drift. Samples should be tested at the same temperature and after a fixed resting period. Otherwise, comparisons become unreliable. I once treated visual clarity as enough evidence; that assumption was weak. Storage tests later exposed slight sediment formation.
Tips: Use clean filters and record pressure changes during each batch. Check samples before and after cooling. Keep a small retained sample for comparison. If clarity declines, review heating time, filtration speed, and raw material variation. Do not increase temperature automatically. It may hide one problem while creating another. A simple log can connect small process changes with measurable quality shifts.
Identifying Impurities and Their Effects on Syrup Performance
How to Improve Syrup Clarification and Quality
Syrup impurities can quietly reduce performance, even when the liquid looks acceptable. Suspended fibers, soil particles, proteins, and mineral salts may create haze, sediment, or unwanted color. Dissolved metals can also accelerate oxidation, giving the syrup a dull appearance and stale flavor. Fine crystals may appear later during storage, especially when temperature changes. A clear sample is not always a stable sample.
In practical processing, clarification should begin with impurity identification. Visual inspection helps locate larger particles, while turbidity, pH, color, and conductivity tests reveal less obvious problems. Viscosity measurements are useful because concentrated syrup can hide suspended matter. Excessive heating may reduce microbial risk, but it can darken the syrup and affect flavor. This balance is easy to underestimate. I have found that operators often focus on filtration and overlook the raw material quality or cleaning water. That approach needs reconsideration.
Tips: Collect samples at several process points, not only from the final tank. Record temperature during testing. Use a suitable filter sequence, starting with coarse removal before finer filtration. Check filter pressure regularly; a sudden rise may indicate clogging or excessive solids. Compare fresh and stored samples, because some impurities become visible only after several days. Keep records of color, turbidity, and sediment levels. Small changes can reveal a larger process problem.
How to Improve Syrup Clarification and Quality
Identifying impurities and their effects on syrup performance
The chart compares common impurity groups found in sugar-process syrups using a relative effect score from 0 to 10. Suspended solids and mineral ash mainly increase turbidity and filtration load, while proteins, color bodies, and organic acids can reduce clarity, accelerate color formation, and affect final syrup stability. Effective clarification commonly combines screening, heating, pH control, flocculation, and appropriate filtration.
Preparing Syrup for Effective Clarification
Preparing syrup for effective clarification begins before any clarifying agent is added. Use clean, dry equipment and confirm the syrup’s temperature, Brix, and pH. These measurements influence viscosity and settling behavior. A syrup that is too cool may move slowly through filters. Excessive heat can darken the liquid or change its flavor.
Remove large particles through a coarse screen first. Then mix the syrup gently to distribute suspended material without creating foam. Foam traps air and can make turbidity readings unreliable. Keep the transfer path short and avoid splashing. Small details matter here. Inspect the tank, valves, and sampling points for old residue. Even a thin film can affect clarity and introduce inconsistent results.
Take a representative sample from the moving syrup, not only from the tank surface. Allow the sample to rest briefly, then check its appearance under consistent light. A clear glass container helps reveal haze, fine particles, or uneven color. In practice, one batch may behave differently from another, even with identical measurements. This is where experience matters. Record temperature, pH, Brix, mixing time, and visual observations for each batch. I have found that operators sometimes trust a single reading too much. That can be a mistake. If the syrup remains unstable, adjust one condition at a time and test again before full-scale clarification.
Applying Clarification Methods Step by Step
How to Improve Syrup Clarification and Quality
Applying Clarification Methods Step by Step
Begin with a representative syrup sample. Check its color, temperature, pH, turbidity, and visible particles before treatment. Record the readings carefully. Small sampling errors can mislead the entire process.
Warm the syrup gradually, usually within the process-approved range, and avoid sudden heating. Add the selected clarifying agent in small, measured doses. Stir gently for several minutes, then observe floc formation. Strong mixing may break the flocs apart. Weak mixing may leave impurities suspended. This balance requires trial work. I would test several doses rather than trust one fixed formula.
Allow enough settling time in a clean vessel. The liquid should become visibly brighter, while heavier material collects at the bottom. Draw the clear layer slowly, without disturbing the sediment. Filter it through a suitable food-grade medium, then measure turbidity again. Check color, flavor, viscosity, and microbial control according to your quality plan. Do not judge clarity alone. A bright syrup can still have unwanted flavor changes. Keep batch records, including temperature, pH, dosage, contact time, and filter condition. Review any unexpected result before adjusting the next batch.
Controlling Quality During Storage and Final Use
How to Improve Syrup Clarification and Quality
Controlling quality during storage and final use is as important as clarification itself. A bright syrup can develop haze after cooling, movement, or prolonged storage. In practice, operators should record temperature, appearance, pH, and storage time for every batch. Use clean, sealed, food-grade containers, and avoid unnecessary headspace. Oxygen can gradually affect color and flavor.
Keep syrup within its validated storage range. Sudden temperature changes may encourage crystal formation or renewed cloudiness. Do not repeatedly warm and cool the same container. Before final use, inspect the syrup under consistent lighting. Check for sediment, floating particles, unusual odor, or changes in viscosity. A clear sample is not always a stable product. That assumption deserves review.
Tips: Use a simple batch log. Record opening time and handling conditions. Mix gently, not vigorously, to reduce air bubbles. If filtration is needed, select a suitable food-processing filter and verify that it does not remove desired syrup components. Take a small sample before filling or blending. This step can reveal problems early. Staff should also question results that look unusually perfect; visual clarity alone cannot confirm quality. Periodic testing by trained personnel provides stronger evidence than appearance alone.